


Do-It-Yourself Tire Replacement
for the Cessna 172
Page 5
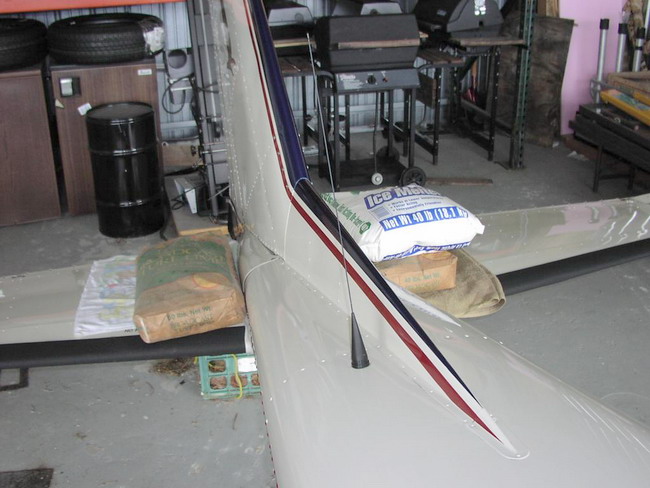
Nose Wheel
Next up -- the nose wheel. In order to raise the nosewheel off the ground, we put about 125 pounds of ballast on the tail and then secured the tail to a milk crate filled with an unopened bag of sand for good measure.
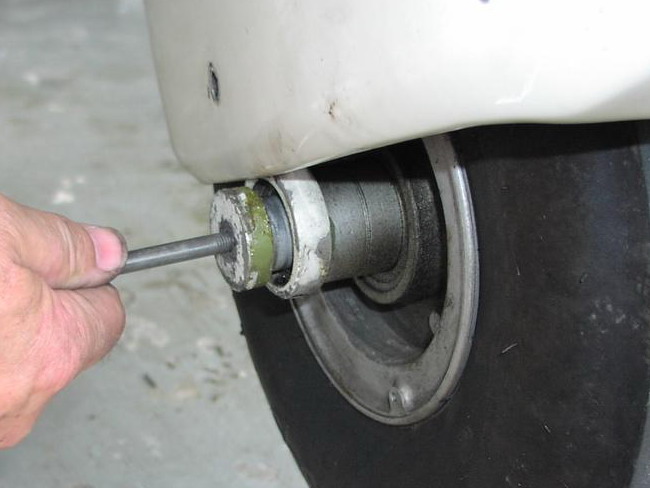
With the airplane in a perpetual flare, we removed the bolts holding the nose wheel pant on. One of these bolts goes through the center shaft of the nose wheel. There is one fuse-shaped insert on each side of the shaft. They can be a bit difficult to get out, but using the bolt helps remove them in short order.
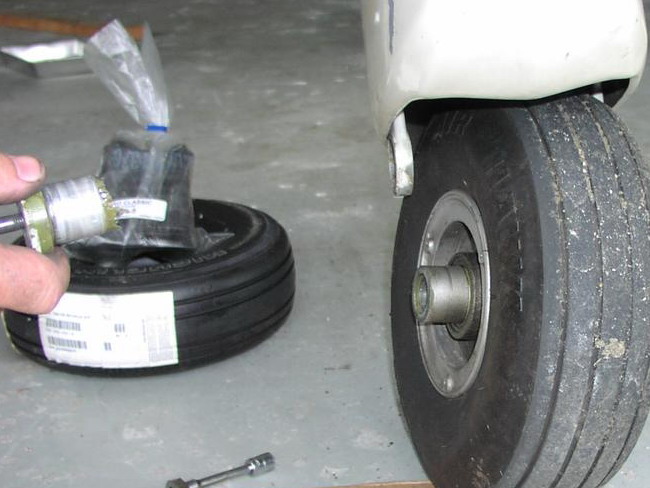
Once these inserts are removed, the tire will drop out from the nose fork as shown.
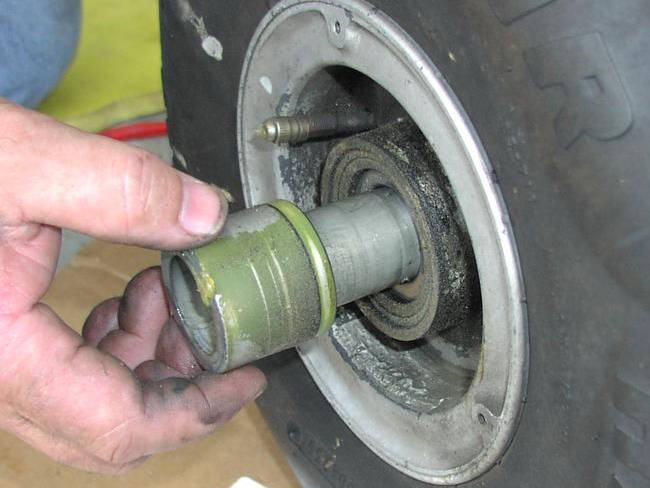
With the tire separated from the fork, it's now possible to remove the center shaft and spacers (the part that still has green primer on it), leaving the nose wheel in the same condition as the main wheels upon removal. As the procedure for disassembling the nose wheel is the same as the main wheel, I won't rehash that here.
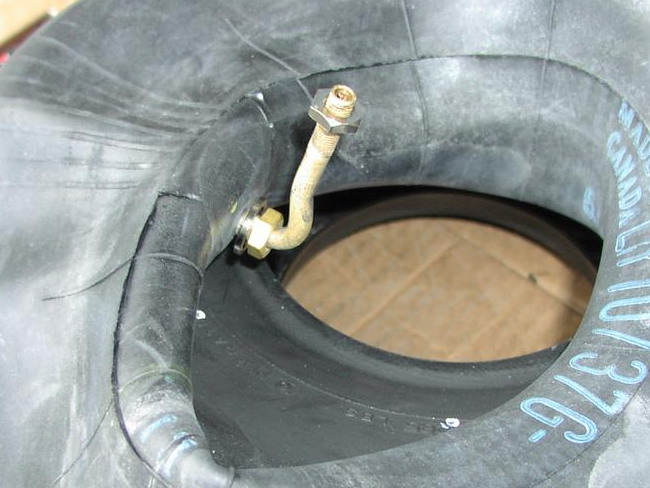
One notable difference between the main and nose wheel tubes (aside from their size) is the use of a 90 degree metal valve stem (known as a TR-67 valve). The tube comes with the nuts and washers as shown, but these are not used in our application, so we removed them before inserting the tube in the tire.
Finish Work and Test Flight
Once the nosewheel was done, we pumped all three tires up to our specifications (38 lbs in the main wheels, 45 lbs in the nose) before we took a break for lunch.
A hour or so later, we returned to check the tires again to ensure they were holding air. We then hauled the airplane out of the hangar for a short test hop. As the brakes locked during taxi, they made some chattering noises, but we attributed that to the pads reseating on the rotors. We followed the low speed taxi tests with a high speed taxi run down the runway to 40K and an abort with heavy braking. This confirmed that both brakes and tires were capable of stopping the airplane safely. After the taxi-back, we took off and executed three takeoffs and landings with no problems.
Over the years we'd grown to accept some minor shimmying in the main wheels, so it wasn't long before we noticed how smooth the new tires ran. No surprise, really. New tires are naturally better than tires that may have been skidded once or twice. But, I think some of the credit goes to Michelin for producing a better, more "true" tire from the start. It's the main reason I've sworn to use Michelin tires on my BMW, and why I've sworn off other makes that, while decidedly less expensive, are nothing but a sloppy mess from the start. While minor vibration in a car amounts to nothing more than an annoyance, on an airplane vibration equals unnecessary wear on everything, so I think it makes sense to splurge for a good set of tires.
Conclusion
I hope this article has given you some insight as to what's involved in replacing a Skyhawk's tires. It's really an approachable task for the mechnically inclined aircraft owner, and just one way you can learn about the airplane you fly and save money at the same time.