


Friday, June 10, 2016
New Leather Ordered
With the ZKW projectors installed I've found myself ready to address the pathetic state of the leather and the deteriorating foam of the driver's seat. Due mostly to a lack of time I have not been particularly interested in tackling the installation myself so I figured I'd look up the local installer that used to do a lot of my dealer's work but found a couple sites, including google maps, that suggested he had closed up shop. Looking for other shops within a reasonable distance I found only a couple and those had "horror story" reviews.
I got together with my tech for some advice. He confirmed that the local uphostery guy closed his shop about six months ago but was still available for jobs of "his choosing". Meaning, he was tired of dealing with bitchy customers but would do selected jobs at his home for the right client. My tech offered to put in a good word for me, but in the same breath suggested that I could do this work myself if I took my time. His estimate: 3 hours or so for the first front seat, and perhaps an hour for the second. He also offered to print out all the latest procedural data (see Procedures below). The thought of saving the roughly $800 installation cost the upholstery guy quoted a couple years back sent me over the edge: I've decided to do the work myself and, as usual, document in detail what I do. So here we go.
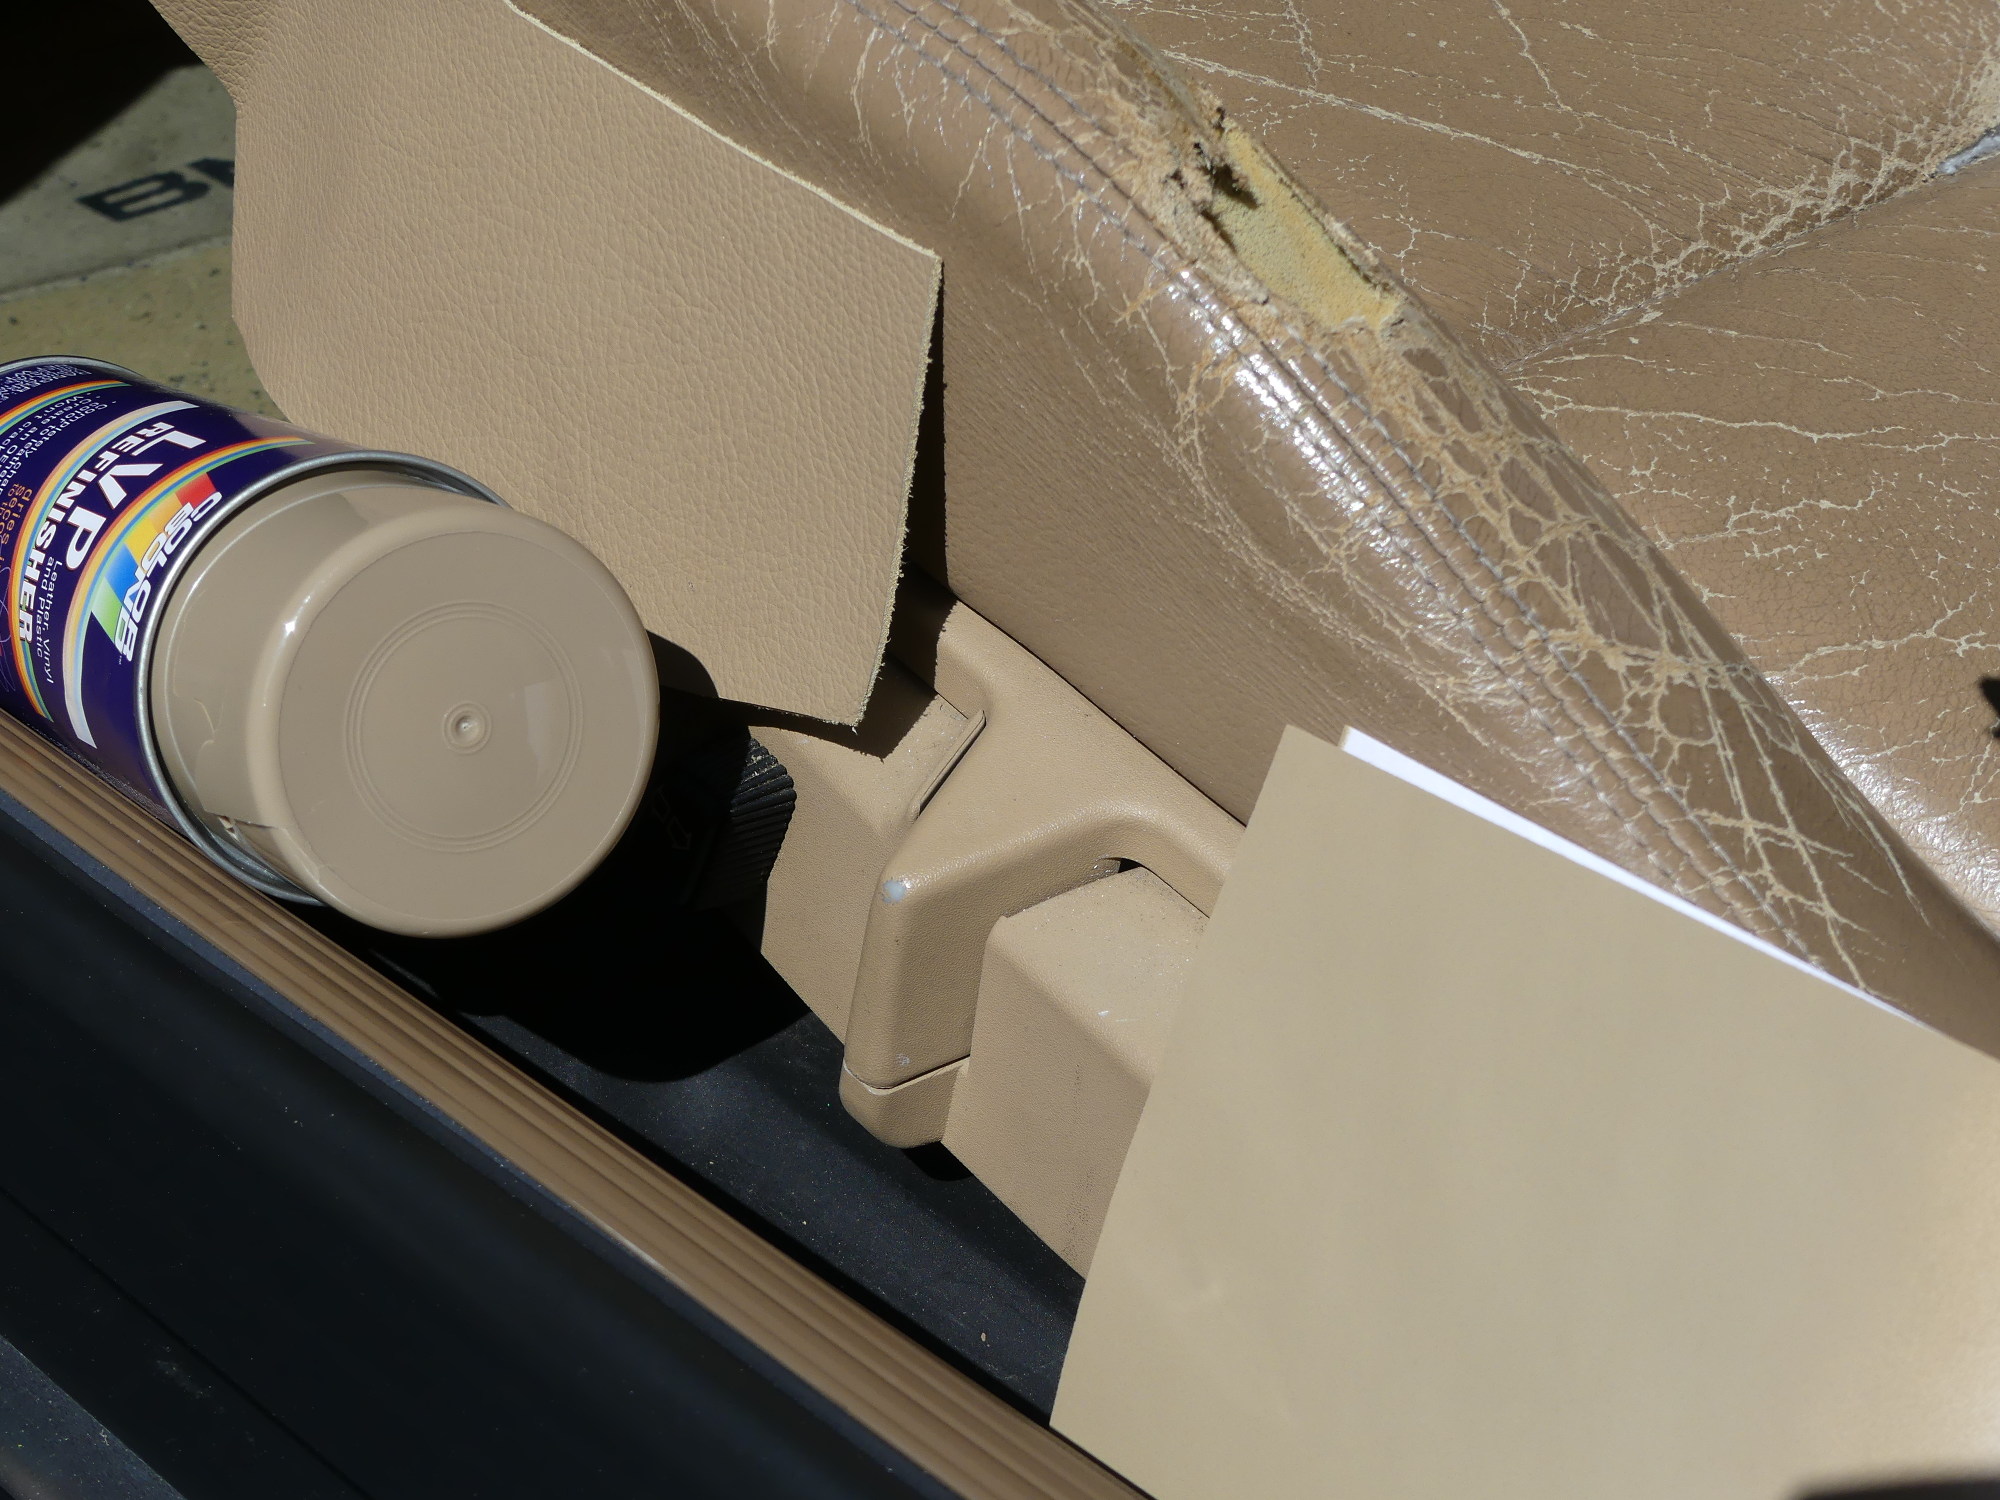
I long ago realized banging my feet into the front left corner of the driver's seat had worn off some of the paint on the seat base, exposing the white plastic substrate. As I knew this would contrast sharply with the new leather I figured I'd research a means to refinish both seat bases. A few search terms later I discovered Colorbond LVP, a plastics-compatible paint provided in a rattle can and offered in several BMW-specific colors. With little more than an online color chip as a reference I settled on "Savannah Beige".
While the website did not specify the finish type their tech support department told me they considered it "satin", which typically means a touch more gloss than a strict matte / flat. When the can arrived a simple test revealed a finish I'd sooner characterize as flat but I considered either acceptable. The color doesn't exactly match the existing seat base but the reality is the entire interior has been bleached by the sun and my test color was on paper, not plastic, and that will make a difference in the final appearance.
To address the A and C pillar trims with cracked / broken mounting bosses I plan to remove the black fabric from the new trims I purchased several years ago when they were still available and use contact cement to wrap the trims in leather matching the seats. I managed to find a 3M adhesive (part number 08090) with the right specs and good reviews that should get the job done.
As the thigh rest and backrest foam are no longer available from BMW I will be forced to repair my foam. The general plan of attack will be to use an inexpensive electric reciprocating knife to cut out the damaged sections and create a flat surface to which I will adhere some new high density polyurethane foam, then sculpt the foam to match the original profile with some form of sanding -- probably a combination of sanding blocks and a small belt sander used for detail woodwork.
I put off buying the leather for obvious reasons but could wait no longer. So this week I placed an order with GAHH for a complete set of front and rear seat covers, headrests, and a half hide in Sand (their color number 0515). After texting them a few pictures of the front and rear seats to confirm the style details including the seatbelt cutouts in the rear, shallow rear covers on the front seats, as well as double-stitching, I gave them my credit card number. Not five minutes later I got a call from my credit card fraud department wondering what was going on but I assured them that I was a crazy BMW enthusiast restoring an 18 year old car and they subsequently approved the transaction. I am not sure I would have done the same in their position. In any case, the leather should be here in ten days.
My intention is to work on the rear seats and headrests first as those should be easiest. The front passenger seat will be next, followed, at last, by the nightmare that is the driver's seat. I will likely continue to drive the car until I have to swap it for the E46 and take my time repairing the foam on the driver's seat. In the end I will have to take the car to my tech to clear the seat occupancy sensor code that will no doubt result from turning on the key with the passenger seat removed, but I view that as a minor inconvenience given the scope of this work.
Leather Replacement Procedures
- 51-10-000: Removing and installing front seat
- 52-10-079: Replacing front seat cushion padding mounting clips
- 52-10-082: Removing and installing/replacing front seat backrest shell
- 52-11-001: Replacing front seat cushion cover
- 52-11-029: Replacing front seat backrest cover
- 52-20-070: Removing and installing/replacing rear seat backrest
- 52-20-075: Removing and installing/replacing rear seat bolster
- 52-20-471: Replacing rear head restraint
- 52-21-221: Removing and installing/replacing rear set backrest cover
Mileage 263350